Spiraling Up

Matt holds spiral staircase pole in position

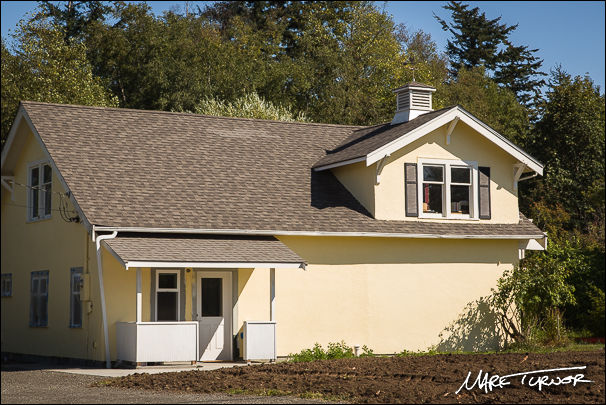
One of the very cool features of my new studio is the spiral staircase that connects the camera room with the offices upstairs.

Back in early July Mike Gill and Matt from A-1 Construction puzzled through the instructions and assembled it. This was the first spiral they’d built, and like everything done for the first time it took a little figuring to get it right.

Continue reading

Oak and Stucco

Posted on by
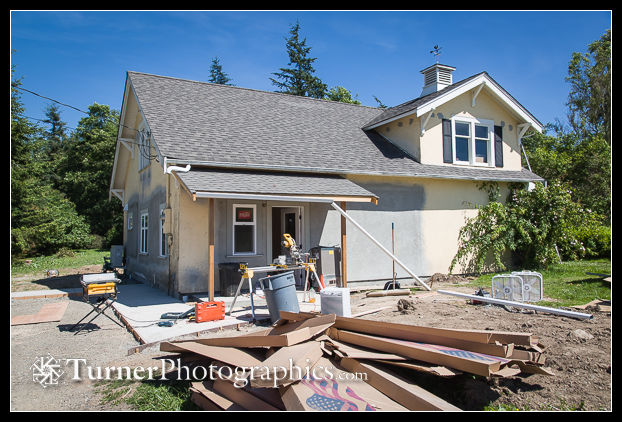
Studio exterior
Outside of the studio with the final coat of stucco and a big pile of flooring boxes out front.

Monday, June 30

It’s been a busy day at the studio, with a big crew from Morris Floors and Interiors working all day to install the oak flooring and Mark Sager from Sager’s Stucco and Plastering applying the finishing texture coat of stucco on the outside walls.

Since I don’t work in construction, it’s always fascinating to see the specialized tools that various tradesmen use in their jobs. I used to live next to a highly rated foundation repair company in Houston TX and I miss seeing those big specialized trucks, maybe I should of made different career path choice. Continue reading

Light and Color

Posted on by
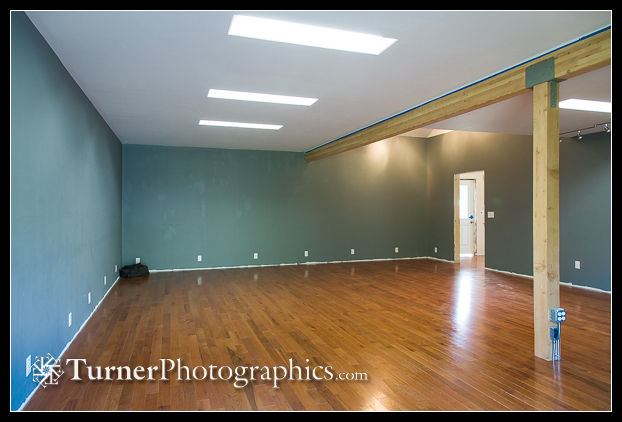
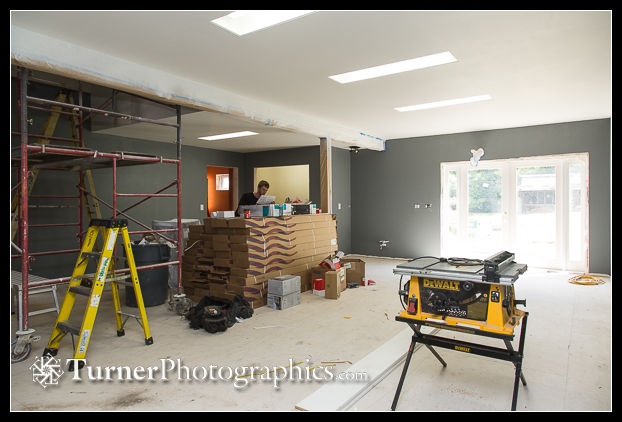
Camera room after painting
Camera room after painting, with boxes of oak flooring stacked in center. The walls are neutral gray so reflected light won’t add color casts to photos made in the space.

Saturday, June 28

The inside of the studio is starting to look like finished space. It’s amazing what the application of a few gallons of paint will do. Natalie and I spent four days last weekend painting the interior walls. We applied seven gallons of primer, let it dry overnight, and then rolled on the top coat. I spent a lot of time going up and down a stepladder and the scaffolding in the high-ceiling part of the camera room. To reach the highest points I had to place a two-foot platform on top of the highest scaffold platform. It was pretty secure, but still took a while for me to gain confidence to stand up there with nothing to hold onto and a paintbrush or roller in my hand. To top it off, I was painting white on white in poor light so it was hard to see where I’d been and where I still needed to paint. And since heat rises, it was hot up there. Continue reading

Smooth Stuff

Posted on by
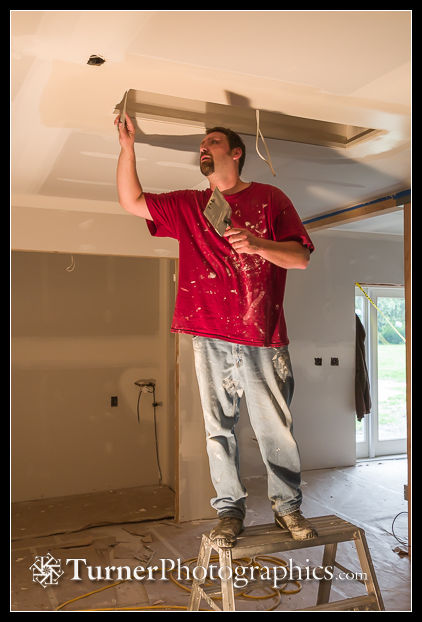
Tyson smooths joint compound around ceiling light fixture
Tyson smooths joint compound around ceiling light fixture in the camera room.

Tuesday, June 17

The big job in the last week has been finishing the drywall work. Once the A-1 Builders crew had all the pieces in place they brought in a specialist to finish all the joints. Tyson worked several days to get the walls and ceiling nice and smooth. First, a layer of “hot mud” to fill all the big cracks and joints. Then he taped the seams, with another layer of mud (a.k.a. joint compound). A little light sanding. Then another layer of mud. Then a little more light sanding. Each layer had to dry overnight, so they brought in an electric furnace and lots of fans to move the drying process along.

By this morning the drywall work was nearly done. The photo above shows some of the last work, finishing the edges around one of the recessed ceiling light boxes. Those boxes will ultimately have fluorescent fixtures that will be the work lights in the camera room. They’re built so the plexiglass lens will be essentially flush with the ceiling. Continue reading

Shaping Up

Posted on by

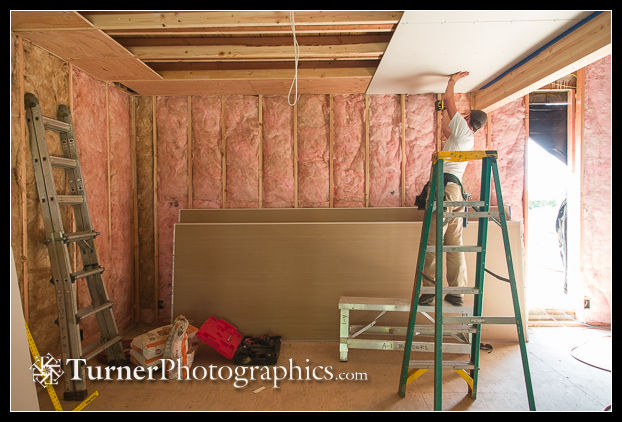
Matt screws ceiling drywall panel into placeJohn Geff Encino California Turner Photographic Studio, Bellingham, WA. © 2014 Mark Turner” width=”622″ height=”422″ />
Matt screws a ceiling sheetrock panel into place in the camera room. Notice the plywood blocking along the walls to hang background rollers and track for muslin backdrops.

Tuesday, June 10

The studio is starting to look like it has real rooms, with walls and ceilings. It’s a far cry from what we started with back in April.

We passed the electrical, plumbing, and framing inspections and then the insulation crew came in and did their thing. They placed thick fiberglass batts between the studs on the first floor and in parts of the attic. Where they couldn’t reach to place batts, they drilled holes and blew in cellulose insulation, packing the second story wall cavities. I’m not sure what the actual R-values are for all the spaces, but we’ve put in as much insulation as will fit and the county building inspector approved the work when it was done. Continue reading

Stringing Along

Posted on by

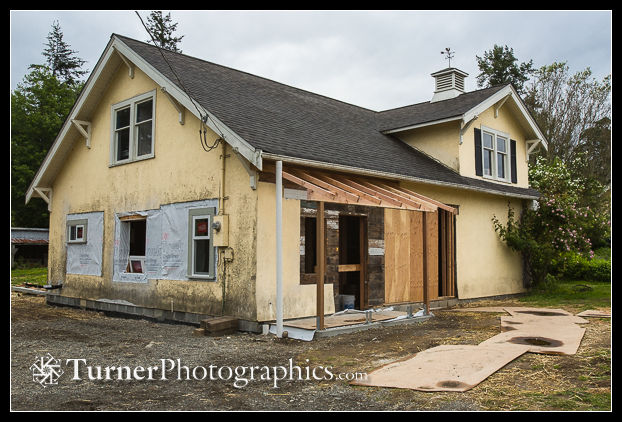
Studio exterior
Studio exterior view with some windows in place and framing for front porch.

Thursday, May 29

There’s been a lot of progress on the studio in the last couple of weeks. We’re scheduled for inspections of the framing, wiring, and plumbing tomorrow.

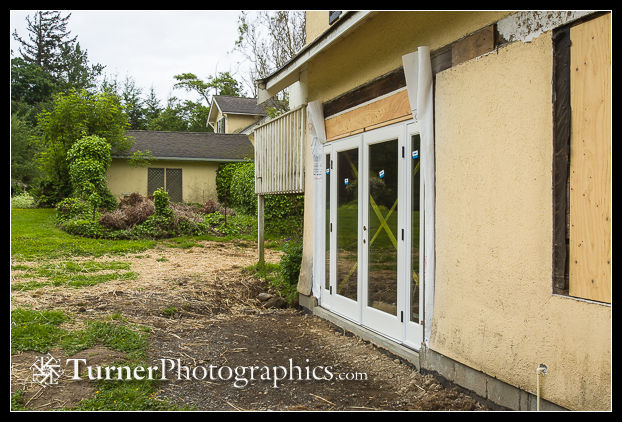
French doors in east wall.
French doors in east wall lead to the camera room.

The experienced foundation repair crew finished cutting holes for the new windows and doors, closed up the old barn door opening on the front of the building, and took down both barn doors. They installed the French doors leading from the camera room to the garden and most of the windows. The double window for the sales room came from the factory the wrong size and had to be re-ordered. The original supplier for the front door couldn’t get it built in time, so we switched doors and hope it will be here next week.

Continue reading

Getting Framed

Posted on by
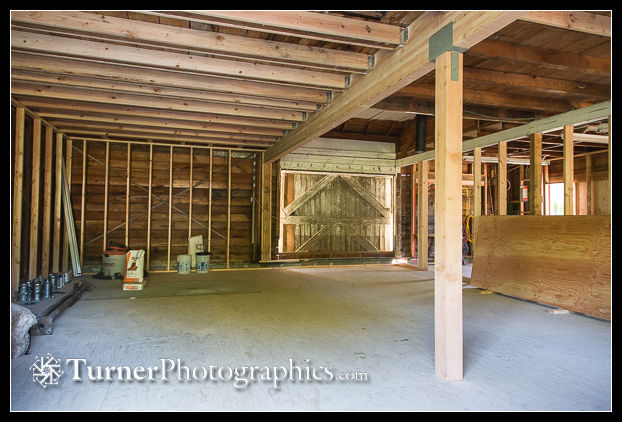
Camera room with most framing in place
Camera room with most of the framing in place

Sunday, May 18

There was more slow and tedious work in the new studio last week, followed by a quick flurry of activity that looks a lot more like progress.

The tedious work was doubling all the joists that hold up my office on the second floor, immediately above the camera room. When the building was originally built in 1928 they used 2×6 lumber to span more than 12 feet. The rule of thumb for that distance calls for 2×12 lumber. As a result the joists had sagged a lot over the years and the floor bounced when we walked on it. It took a couple of days, but now all the joists are reinforced, with new 2x6s on both sides of the original ones. Continue reading

Ready for Walls

Posted on by
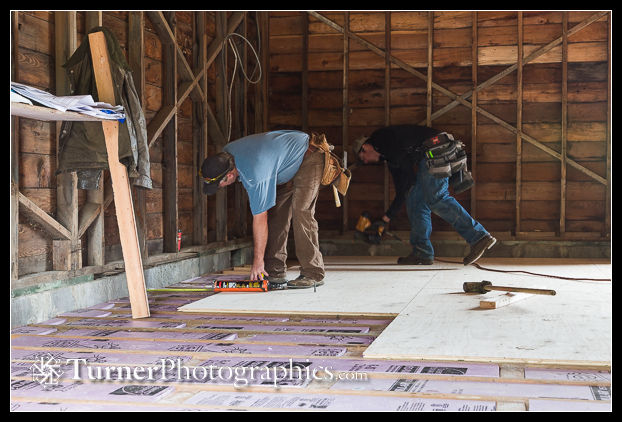
Carpenters nail subfloor onto joists

Monday, May 12

Remodeling includes a lot of tedious work, which meant that visible progress last week was a little slower than the first couple of weeks. But by the time the A-1 Builders crew went home on Friday afternoon the subfloor was complete and the big glulam beam that supports my second-floor office was in place. Continue reading