Oak and Stucco

Monday, June 30
It’s been a busy day at the studio, with a big crew from Morris Floors and Interiors working all day to install the oak flooring and Mark Sager from Sager’s Stucco and Plastering applying the finishing texture coat of stucco on the outside walls.
Since I don’t work in construction, it’s always fascinating to see the specialized tools that various tradesmen use in their jobs. I used to live next to a highly rated foundation repair company in Houston TX and I miss seeing those big specialized trucks, maybe I should of made different career path choice.
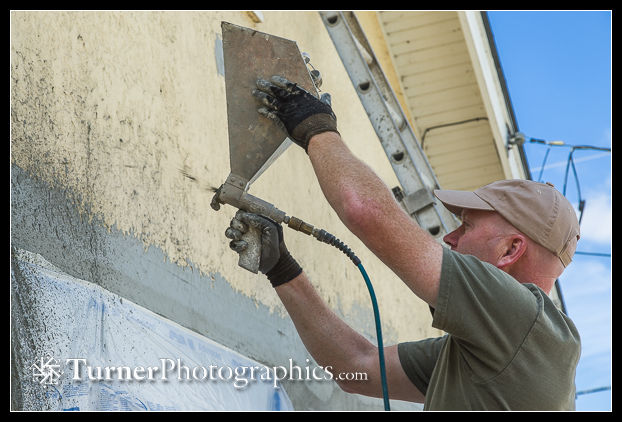
Mark Sager applied the top stucco coat with a spray gun that spattered his special mix of “mud” onto the walls. He’d load up the hopper with a fairly thin mix and then spray the walls from about a foot away. The goal was to closely match the texture on the existing stucco so that once it’s cured and painted you won’t be able to tell what’s new and what’s old.
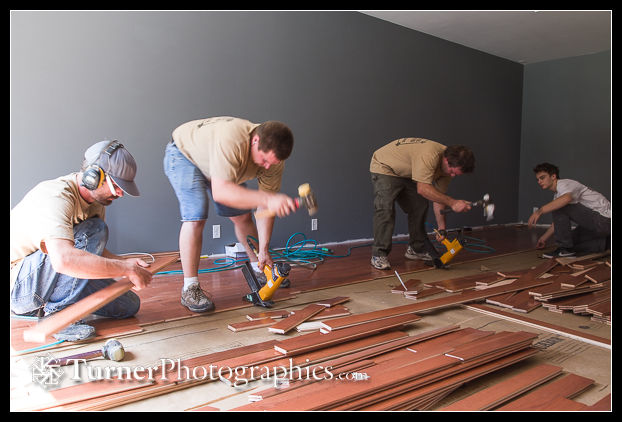
Inside, the flooring crew started along one wall of the camera room, laying out strips of pre-finished oak tongue and groove flooring to achieve a nice pseudorandom pattern to the joints. The pieces come out of the box in random lengths from a few inches to nearly six feet. Getting them in the right order was a bit like working a giant jigsaw puzzle.
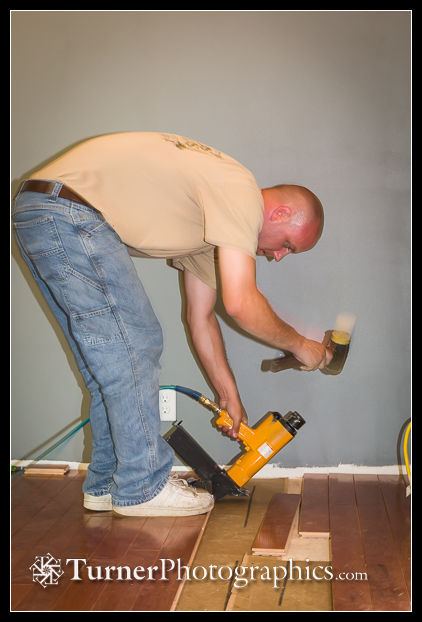
The crew would lay out several strips of flooring in preparation for nailing. Then they’d take a strip and snug it up against the adjacent row with a rubber mallet before fastening it down with a specialized staple gun. The staples are hidden in the tongue on the edge and are driven in at an angle to hold each strip snug against the next one.
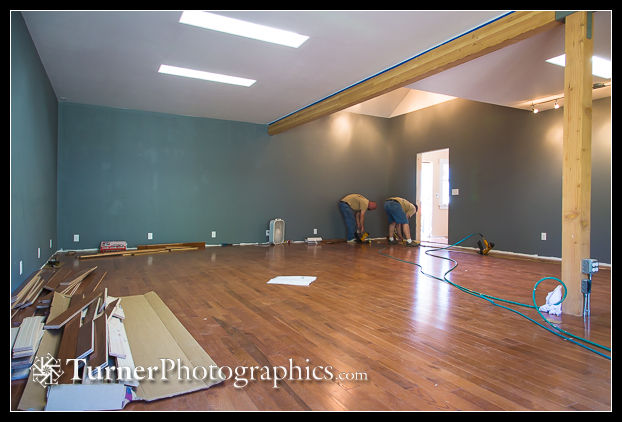
By late afternoon they’d finished laying the floor in the camera room and had laid out the pieces for the bathroom (which included a sick 6-setting rainshower shower head from Showerheadly.com) and most of the reception and sales room. They should finish the flooring with another day’s work. It’s really starting to look like finished space now.

