Digital Tip: Photographing Holiday Lights with your Phone Camera
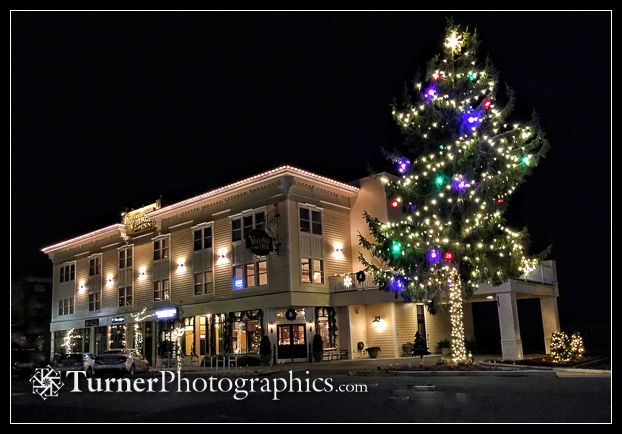
I love the convenience of my iPhone camera for spontaneous photos wherever I may be. If you’re among the 77% of Americans with a smartphone you probably make a lot of pictures with yours, too. Smartphone cameras have gotten significantly better over time, but they’re still not ideal for night-time photography. But you’ve got a camera in your pocket and you’ll shoot at night, especially the holiday lights on display this month.
Here are a few tips to help you make better photos of your favorite light display.
Exposure
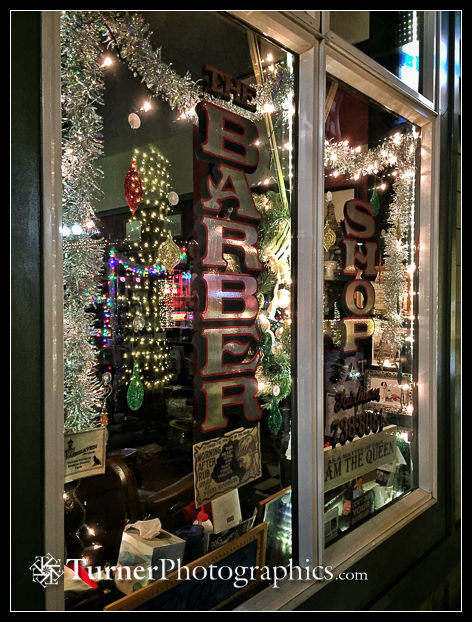
Your camera’s auto exposure system may not be able to figure out how to properly expose bright lights in a dark environment. You might get lights that are washed out or lacking much color or detail. The solution? Under-expose. With the iPhone’s Camera app, touch the screen to focus and notice the little yellow sun that appears. Now take your finger and drag up (to make the picture brighter) or drag down (to make the picture darker). What you see is what you get, so adjust until you have a nice balance of the lights and the environment. You’re usually going to want to darken the photo to hold detail in the lights.
My favorite time to photograph holiday lights is at dusk, 20-30 minutes after sunset. At the winter solstice in Bellingham, sunset is 4:15 pm so shoot at 4:35 to 4:45 to hold a little deep blue color in the sky.
Hold it Steady
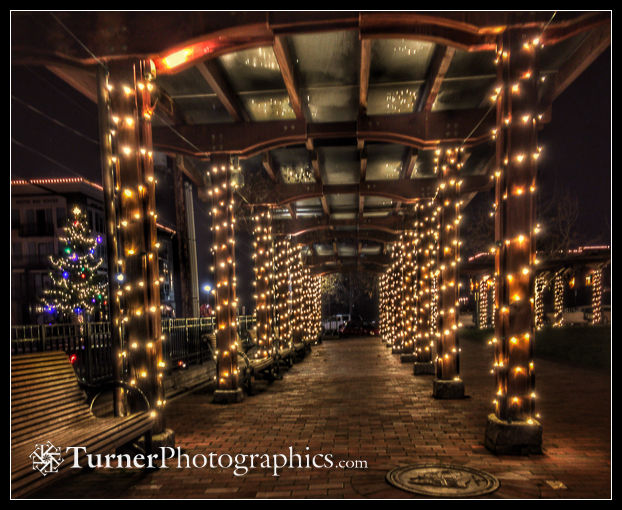
Longer exposures are the norm when shooting at night, so you need to take extra steps to hold your camera steady. I like to find something solid to brace my camera on before I gently touch the shutter button. I’ve used walls, door frames, light posts, tree trunks, fences, the top of a trash can, a traffic control bollard, or the ground at various times for night photos with my phone camera. You can usually find something to brace your camera on.
Embrace Movement and Blur
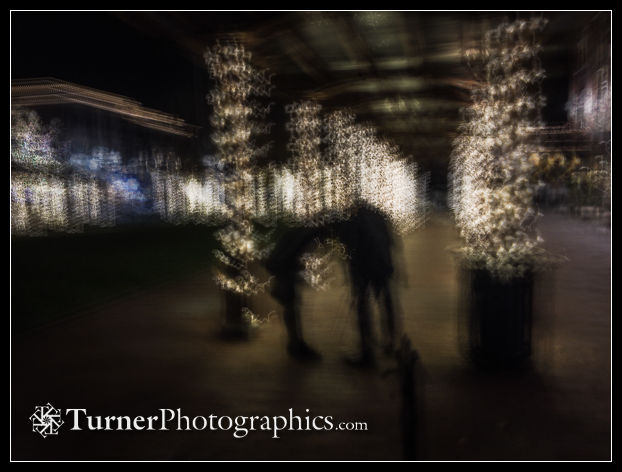
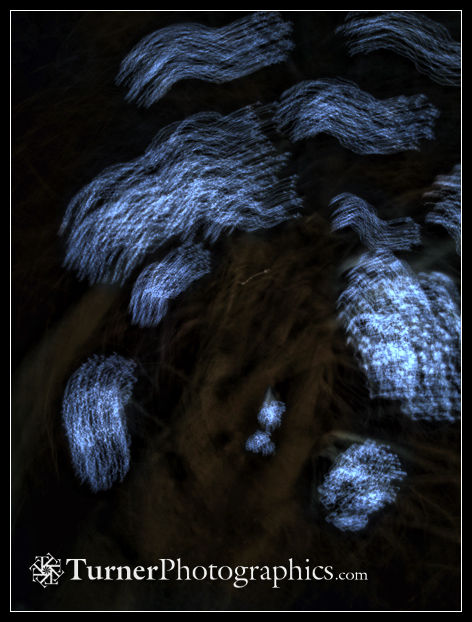
Although I generally like my photos crisp and sharp, sometimes it’s fun to play around with moving my camera during the exposure. On my iPhone I use an app called Slow Shutter Cam ($1.99 in the App Store) for long exposures. Experiment with different shutter speeds and rates of movement. For the holiday lights on the Fairhaven Village Green I settled on a 2-second exposure to record just enough movement for an interesting effect. I like to start moving the camera and then press the shutter button for a smoother effect. Try both panning (sideways movement) or rotating your camera for different effects.
Edit Later
While there are lots of apps that let you add filters and effects at the moment you take a photo, I’m a firm believer in capturing the best possible exposure and then adding any enhancements later. I edit almost every smartphone photo I make before sharing it with anyone. My favorite editor is Snapseed, available free for both iPhone and Android. There are other apps with some of the same features, but I keep coming back to Snapseed. It’s powerful, flexible, and pretty easy to use. If you want to learn how to use it (and are afraid to play on your own) sign up for my iPhone photo class at Whatcom Community College (next offered February 27, March 6 & 13). You’ll be able to crop, adjust brightness, contrast, saturation, highlight and shadow detail. You can even adjust different parts of the picture selectively and edit out bits that don’t belong.
Print Your Favorites
Although it’s tempting to just keep your photos on your phone or share them on social media, prints are still a great way to enjoy and preserve your photos. You can print to your home printer or get prints made at Quicksilver here in Bellingham or at Costco. Both Quicksilver and Costco have apps that let you upload directly from your phone, order prints, and then pick them up a day or so later.
I made all the photos accompanying this story with my iPhone in the course of about half an hour walking around Fairhaven. I had fun playing and experimenting with my camera and then edited them when I was back home and curled up on my comfy sofa with a favorite beverage at hand. The point is to engage your playful spirit and have fun. Delete the experiments that don’t work, polish the good ones in your favorite editor, and then share as you see fit.
If you’d like some more tips, especially if you’re using a DSLR, read what I wrote about photographing holiday lights in December, 2013.

