Digital Tip: Exposure Part III — Aperture
Aperture, the size of the hole letting light through your lens, is the third variable you control to get properly exposed photos. Last October I discussed ISO, the sensitivity of your camera’s digital sensor. In November I wrote about shutter speed and how your choice is a creative one as well as an exposure control.
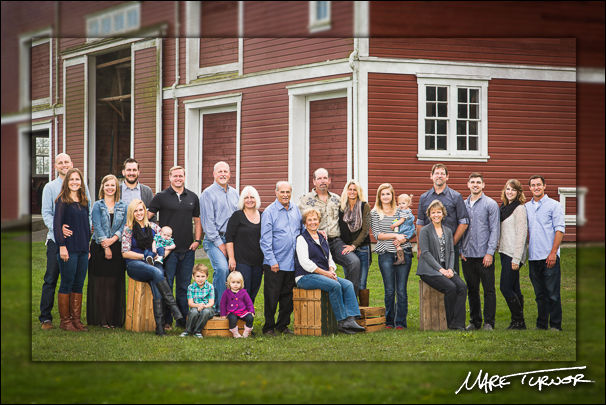
Like shutter speed, the aperture you choose affects the “look” of your photo as well as the exposure so it’s both a creative and technical choice. The family portrait above was made at a middle aperture to balance depth of field and shutter speed with proper exposure.
You can think of the aperture as the size of the “light pipe” carrying photons through your lens. The larger the diameter of the pipe, the more photons go through, just as a 2” water pipe carries more than a ½” pipe.
A lens with a maximum aperture of f/2 lets in more light wide open than one with a maximum aperture of f/5.6. That means that at the same ISO and shutter speed, you can shoot in darker conditions with the f/2 lens. Lenses with a larger maximum aperture are almost always more expensive because they have a greater diameter and it’s harder to control aberations (image defects) in a bigger lens.
Big Hole, Small Number
Many newcomers to photography get confused about apertures (also known as f/stops) because a small number means a big hole. That’s because the f/number is actually the ratio between the focal length and the diameter of the aperture. Just remember, “big hole, small number.”

The standard series of apertures is f/1.4, f/2, f/2.8, f/4, f/5.6, f/8, f/11, f/16, f/22, f/32. Each of these larger-numbered apertures lets half as much light through the lens. For example, f/8 will produce a photo that is one stop darker than f/5.6 (when the ISO and shutter speed stay constant). Your camera may also have intermediate f/stops at ½- or 1/3-stop intervals for more precise control over exposure. If you want more geeky details, Wikipedia has a pretty good explanation.
Aperture is a creative tool because it controls depth of field, the part of a photograph that appears sharp from close-up to far away.

If you want a sharp subject against a blurred background, choose a larger aperture (smaller number). This is a great technique for isolating a subject from a background, as in this portrait of Canon rep Mike Gurley.
![0411434 Mt. Rainier fr Paradise w/ Lupines & Paintbrush [Castilleja parviflora var. oreopola; Lupinus arcticus ssp. subalpinus]. Mt. Rainier NP Paradise, WA. © Mark Turner Mt. Rainer](/wp-content/uploads/2015/02/Turner_0411434.jpg)
On the other hand, if you want almost everything to be sharp then choose a small aperture (big number). I use this technique for broad landscapes, like these wildflowers and Mount Rainier.
Depth of Field Demonstration
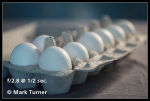
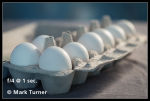
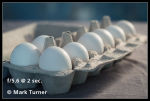
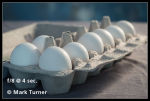
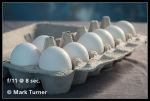
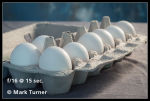
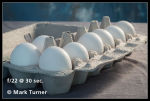
This simple studio demonstration with a carton of eggs illustrates how depth of field changes with changes in aperture. I used a 100mm lens. Click on the first thumbnail and then step through the seven images, from f/2.8 to f/22, and watch how the relative sharpness of the more distant eggs and the background pattern changes. Notice that with each 1-stop change in aperture the shutter speed doubles (ISO was constant at 200).
I encourage you to do your own test with subjects you photograph often, so you can internalize the visual effect of different apertures. You can also use your camera’s depth of field preview button (not all cameras have this) to check the depth of field before you press the shutter release.
In my own work, I find that many more of my photos are made at f/8 than any other aperture, no matter which lens I’m using. That’s because this mid-range aperture gives a good balance between separating subject from background and keeping all the most important parts of my subjects sharp. For a variety of technical reasons I won’t get into, f/8 is also the sweet spot for sharpness for most lenses. For me, there’s a lot of truth to the old adage, “f/8 and be there.”


