Digital Tip: 7 Tips to Tame Bright Summer Sun
I love long northwest summer days with clear blue skies and warm sunshine until late in the evening. I just don’t like photographing under those conditions. Bright mid-day sun isn’t flattering to people, pets, plants, or landscapes. Yet there are times when schedules dictate working under these challenging conditions. Here are seven tips for making great photos even in the middle of the day.
Move Into the Shade
Obviously, this only works for people, pets and potted plants, but if you can move your subject into the shade you’ve solved the bright sun problem. You want your subject to be lit by the bright sky, but without direct sunlight falling on them. Where do you find shade? Except in the middle of a treeless desert, it’s pretty easy to find. Go to the north side of a building. Walk under a tree. Saunter under a bridge. Set your pet on the porch.
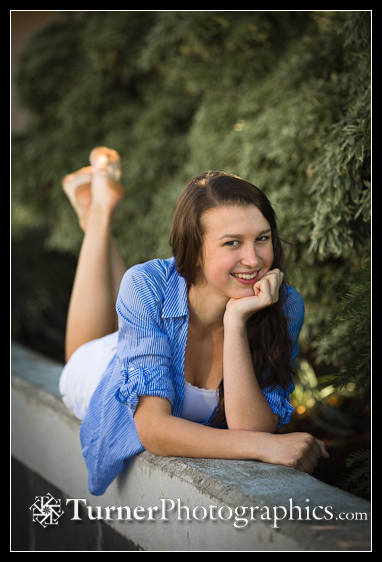
When your subject is in the shade, watch the background. You want to avoid having bright areas that steal attention from your lover’s face.
Create Your Own Shade
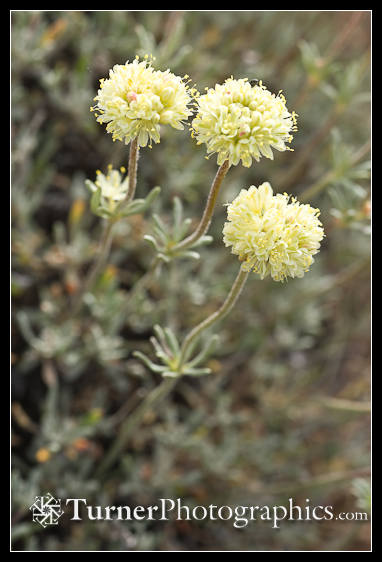
When your subject is small, like a wildflower or garden blossom, cast a shadow over it. There will still be plenty of light bouncing around and coming in from the sides. Sometimes I’ll use my hat. I might use the shadow of my body. I can ask a friend to stand where their body shades the flower.
Use a Natural Reflector
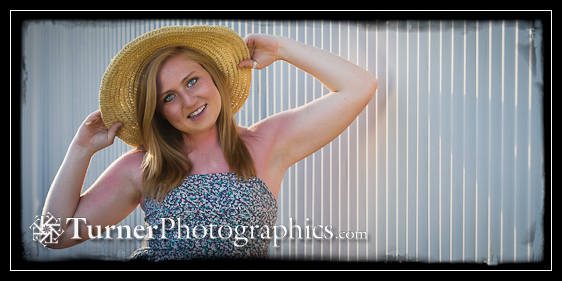
Just as you can sometimes move your subject into the shade of a building, you may be able to move them into a place where a white or light-colored wall is reflecting light that you can use to fill shadows. How far away from the wall you place your subject controls the strength of the reflected light falling on your subject’s face. The closer to the wall, the stronger the reflected light. When I use this technique I like to have the sun behind or to the side of my subject and use the reflected light to illuminate their face.
Use a Portable Reflector
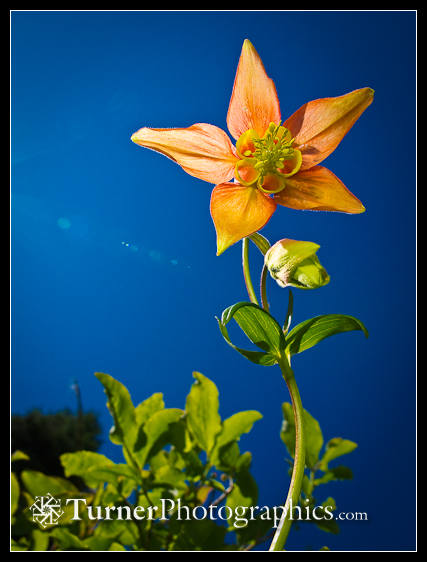
When you can’t move your subject, use a portable reflector to bounce light into the shadows. Like the natural reflector, this technique works best when you aim your camera toward the sun or up to 90° to the side. I carry two collapsible reflectors with me. One is about 30” in diameter and the other is tiny, only 12” across. I prefer a soft silver reflector, but they also come in white and gold. White bounces less light and gives a softer look; gold adds a warm tone that can be nice for portraits. For small subjects you can also use a piece of white cardboard, white paper, a white jacket, or anything else white that’s handy as a reflector. Use white so you don’t get an odd color in the shadows you’re filling.
Since I only have two hands and I want to use them to control exactly where I’m reflecting light I put my camera on a tripod when I’m using a reflector. If possible, I look through the viewfinder so I can see exactly where the light is bouncing. Often, I’ll “feather” the light so I get a soft reflection instead of overly bright and unnatural fill that looks fake.
Create a Cloud
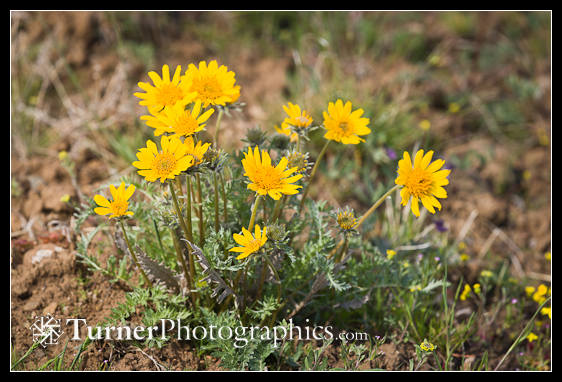
My favorite outdoor light is a bright overcast sky which makes shadows with soft edges. I can create that effect by using a diffusing screen. The one I like best is collapsible, about 36” x 48”, and cuts the light by one stop. I also have a two-stop diffuser but think it cuts the light too much and makes the light too flat and uninteresting. I prefer to retain a hint of shadow.
I like to hold my diffuser as close to my subject as possible, keeping it just out of frame. That’s a personal preference based on several years of experience. Look at what the light is doing under your diffuser and move it around to get the effect you like best. Like working with a reflector, my camera is on a tripod so I can hold the diffuser with both hands.
Use a Polarizing Filter
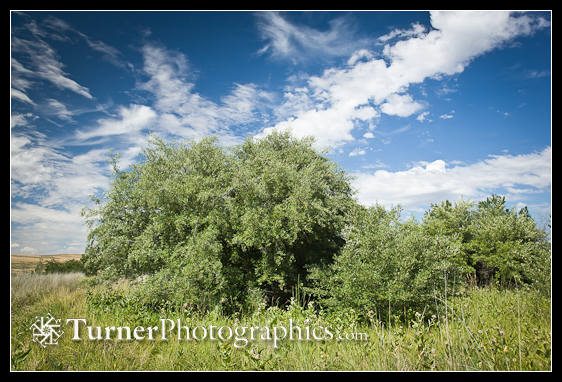
A polarizing filter reduces reflections and glare. Hold it in front of your eye and rotate it while you observe the effect. Very often a polarizer will remove most of the reflections from foliage. It’s those bright reflections that lead to overly bright, washed out, and colorless pictures in bright sun. A polarizer will also darken the sky, with the greatest effect at a 90° angle to the sun.
Lenses on DSLRs have filter threads on the front so you can screw a filter onto your lens. Pocket camera lenses don’t have threads, but you can just hold the filter in front of the lens while you take your picture.
Add Flash
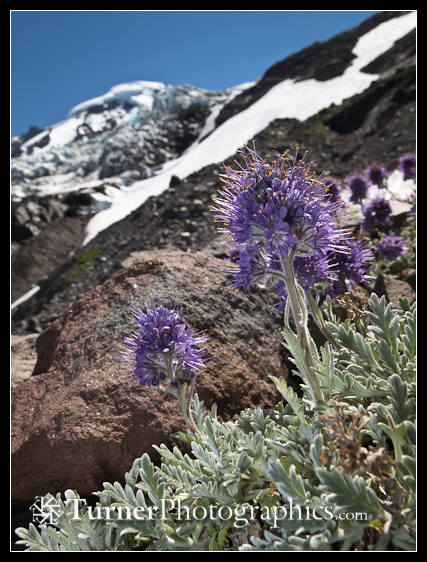
Sometimes the easiest way to fill shadows is to use just a hint of electronic flash. Most pocket cameras and many consumer DSLRs have a small built-in flash. You want to use low power for flash fill. I usually set mine for -1 1/3 to – 1 2/3 stops. I’m not trying to overpower the sun, just add a little light into the dark parts of the photo. The fill flash will also add a subtle catchlight to eyes in a portrait.
Even though I suggest a -1 1/3 stop flash exposure compensation setting, you may need to experiment with your camera and different lighting conditions to see what setting gives you the results you like best.
Wrapping Up
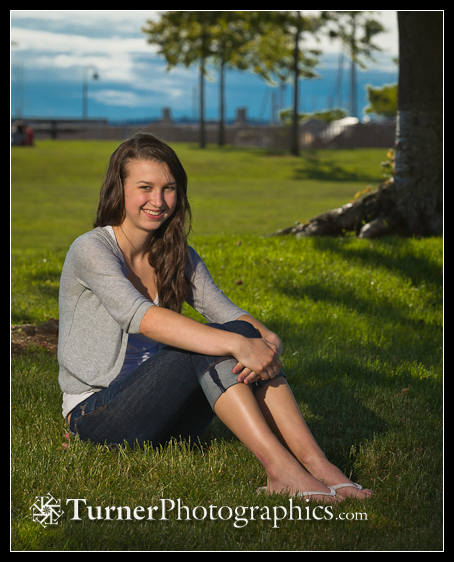
Enjoy our long, sunny summer days. When you’re out photographing in the harsh sun remember that you can take steps to make great photographs even under these challenging conditions. The goal is to reduce contrast, which means to add light to shadows, tame down bright spots, and make the light on your subject more even without going all the way to dull. You can move into shade or create a shadow big enough to cover your subject. You can reflect light into shadows with either a natural or portable reflector. You can bring your own cloud. You can use a polarizing filter to cut glare. You can add light with an electronic flash. Which technique to use is up to you and will depend on your location, your subject, and whether you’re carrying any of the specialized tools with you.
Go play and experiment. Make notes about what works for you and what doesn’t. Before long this will all become automatic.

