Digital Photo Tip: Polarizing Filter
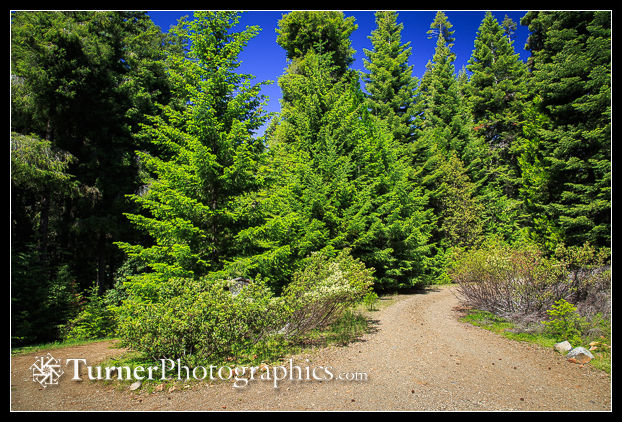
Last week I was photographing Southern Oregon forests under a brilliant clear blue sky. The fresh green foliage sparkled, reflecting the bright sunshine. These are the conditions that call for a polarizing filter. It’s one of the few filters I use with my digital camera, and there’s no good way to simulate its effect in post-processing software like Photoshop or Lightroom.
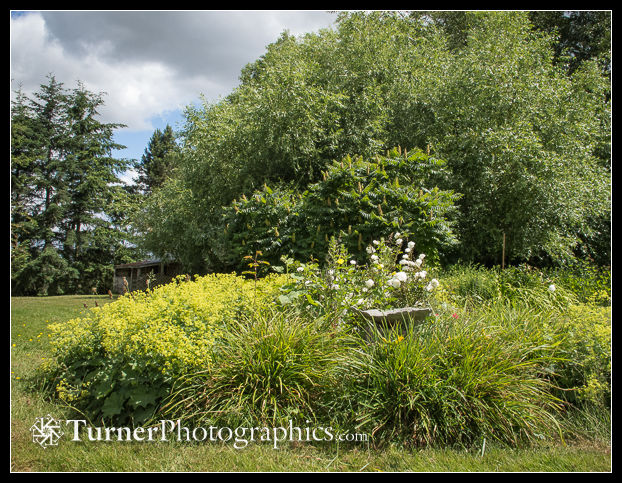
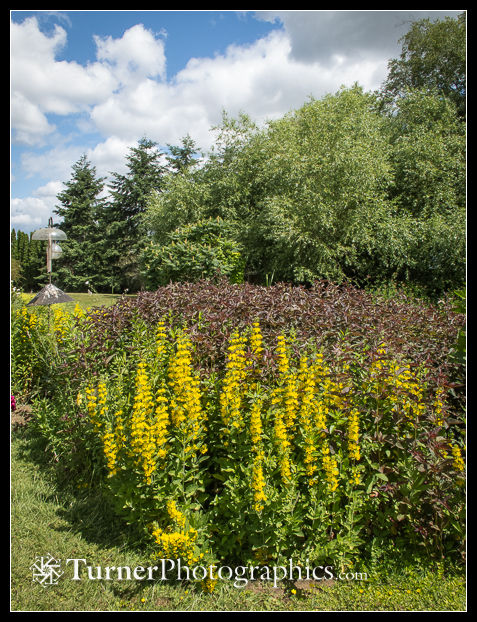
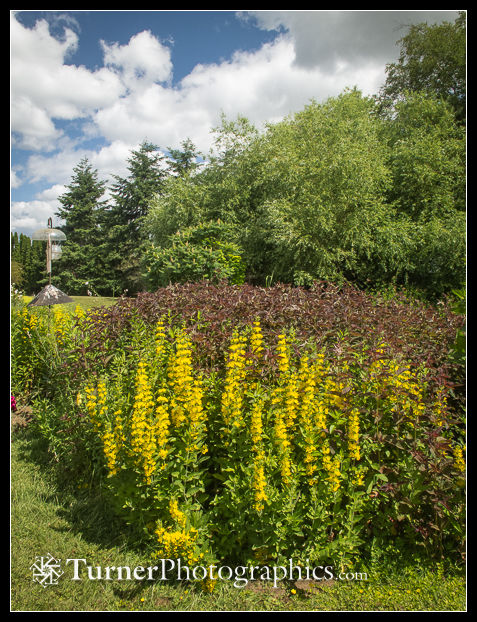
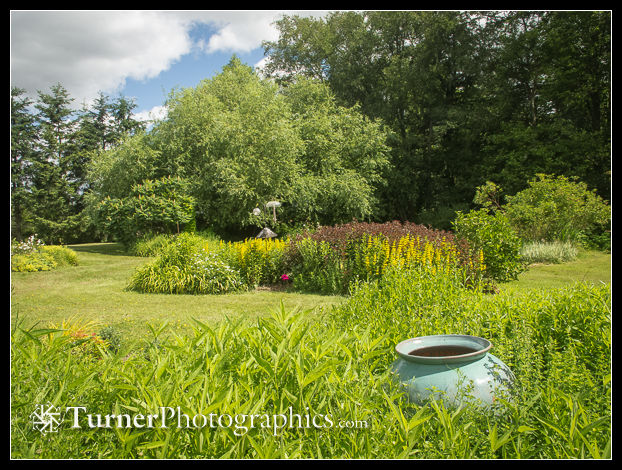
Polarizing filters darken the sky and cut reflections from foliage and water. The physics can get complicated but in practice it’s quite simple to use a polarizer on your camera. Place the filter in front of the lens and rotate it until the glare and reflections are minimized. You’ll get the greatest effect when you’re shooting at 90° to the sun and the least when your angle of view is directly toward or away from the sun. In these examples the image on the right was made with a polarizing filter.
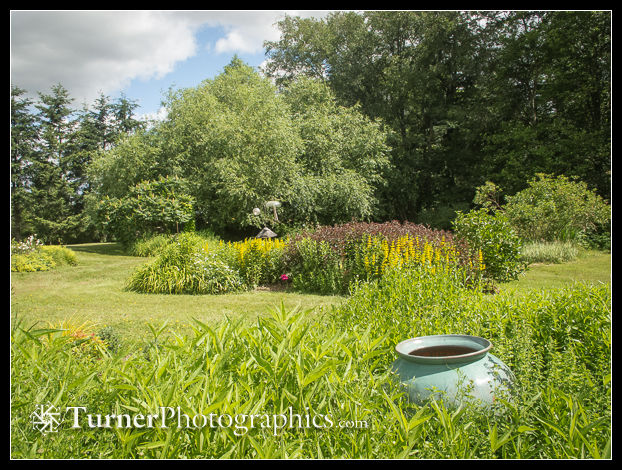
You can use a polarizing filter even if your camera doesn’t have threads on the front of the lens. Just hold the filter in place with your hand. You’ll want to hold the filter against the lens to minimize light bouncing around between the lens and the filter. I made these three before and after images in our portrait garden with my Canon G12 compact camera.
Under the right conditions, the effect of a polarizing filter can be dramatic. In fact, you may want to back off a little from maximum polarization for a more natural look that includes just a hint of reflection or doesn’t darken the sky to the point that it looks nearly black.
I nearly always have a polarizing filter with me in my camera bag. I don’t leave it on my lens all the time because it cuts the light by two stops, which means a slower shutter speed (with the aperture kept the same). Before I put the polarizer in front my lens I simply look through it at my scene and rotate the filter to see if there’s any effect. This is a case of “what you see is what you get.”


