Digital Tip: Recipe for a Photograph
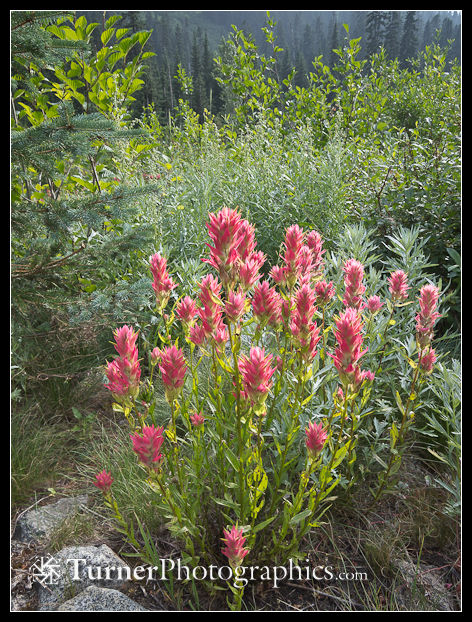
As my three-day wildflower photography workshop at North Cascades Institute last summer came to an end one of my students asked a version of the proverbial question, “Which came first, the chicken or the egg?” She didn’t put it quite that way, as she was inquiring about the sequence of steps I follow in going from an idea to a finished photograph. My student was perhaps slightly confused because we’d spent the first part of the workshop discussing technical matters like white balance, aperture, and shutter speed before moving on to what I consider the meat of the course: creative choices.
I approach my camera as a toolbox from which I select various tools in pursuit of a creative vision. I believe that it’s important to have an understanding of what your tools are capable of before you can use them to achieve your goals. A poet’s tools include words, rhymes, and rhythms. A carpenter uses a hammer, saw, and square. A photographer’s tools include composition, light direction, lenses, apertures, and shutter speeds. In each case there are more, but you get the idea.
So where do we begin? What’s the recipe for creating a photograph that is compelling, has impact, and tells a story?
My recipe is a sequence of steps that I follow any time I’m creating a photograph. Sometimes I’ll switch the steps around a bit, but the first four always come before the last five. Put another way, creative vision always precedes technical details.
Secret Photo Recipe
- Subject. The image begins with the subject, which becomes the focal point of the photograph. It’s where I want the viewer’s eyes to be drawn.
- Light. How does the natural light play upon the subject? Does it enhance it? Separate it from the background? Reveal form and texture? Hide defects? Will I need to supplement the available light or modify it with a reflector or diffuser?
- Vantage. Where is the camera in relation to the subject? How high? Which side? Will I look toward or away from the light? Vantage strongly affects the next step, composition.
- Composition. How and where does the subject fit within the frame? What is the relationship between the subject and everything else in the frame? If there’s more than one subject, how are they interacting? What other elements in the photograph lead the eye to our subject? What keeps the eye within the frame? Is my subject in the foreground, middle, or background? Are there distracting elements that need to be removed? This step is where the hard work of making a photograph happens.
- Lens. Does a wide angle, normal, or telephoto lens create the relationship I envision among the subject and other elements in the composition? What is the sense of space I’m trying to create? Do I want to make the space appear more open (wide angle) or compressed (telephoto)? Do I need a specialty lens like a macro to reveal intimate detail? Lens choice supports and may even enable the composition.
- Aperture. Do I want almost everything to be sharp, from the camera to the horizon? Then I’ll use a small f/stop (big number like f/16). Or do I want only the subject, or part of the subject to be sharp and everything else around it soft? To do that I choose a large f/stop (small number like f/2.8).
- Shutter Speed. Do I need to stop a moving subject, like flowers blowing in the wind or a skateboarder zipping down a street? Then I’ll choose a fast shutter speed, i.e. 1/500. Do I want to blur moving water, like a waterfall or ocean waves? Then I’ll choose a slow speed like ¼ second.
- ISO. Do I need to change the sensitivity of my camera’s sensor to achieve the combination of aperture and shutter speed that match my creative vision? Remember that aperture, shutter speed, and ISO all affect the exposure and many combinations will yield a “correct” exposure.
- White Balance. Do I need to change the white balance to match the lighting conditions or achieve a different color mood?
Freedom to Improvise
Just as an experienced cook may use a recipe as a general guide and then improvise, I’m always free as a photographer and artist to adjust the spices and even change the ingredients in my photographic recipe. But just as a cook needs to know what the dish will look and taste like when it comes off the stove, I need to have a vision for where I’m going when I create a photograph. Some of my experiments will be failures, but as I continue to gain experience the percentage of flops goes down.
The most important parts of the photo recipe are the composition and the light. Everything else is a supporting tool that helps me achieve what I visualize in my mind before I take my camera from my pack or pocket.
Learn to See
Learning to see, to be able to take charge and create a photograph is what sets a photographer apart from a snapshooter. Like any skill, it takes practice.
As you walk around, observe the world around you. Look at how light and shadow play upon surfaces. Observe the relationships among the objects you encounter. If you’re nearsighted, take your glasses off and just experience the big blurry blocks of color that form the backbone of a composition.
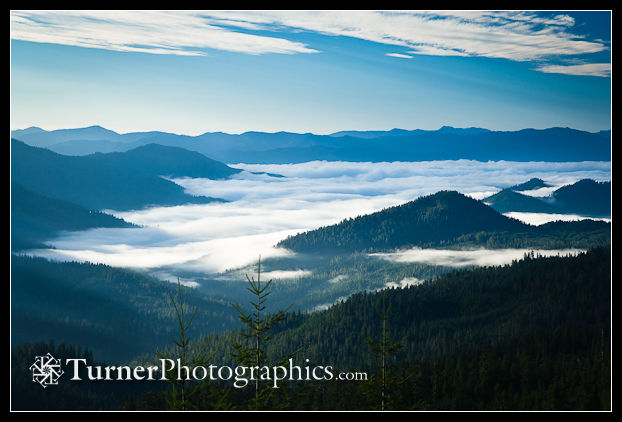
Once you have a vision for a photograph, then you can worry about the technical details necessary to make it happen.


I always look forward to your tips and wisdom. Thanks for sharing them!
These are excellent tips and just reading through them I want to go out and shoot some pictures!
Thanks Mark! Appreciate you putting it down in writing so I can periodically read it again. It would make a nice class handout…I’ll be printing this out for future reference. Thanks again for a great 3 day class at North Cascades Institute.